[產品資訊] 應用程式的自動管理顏色
Answer
Windows 11提供系統層級的色彩管理,來讓Windows作業系統中不同的應用程式在顯示器上呈現的色彩更正確與提升品質
請參閱下列步驟來開啟或關閉應用程式的自動管理顏色設定
1. 根據不同的作業系統版本找尋此設置
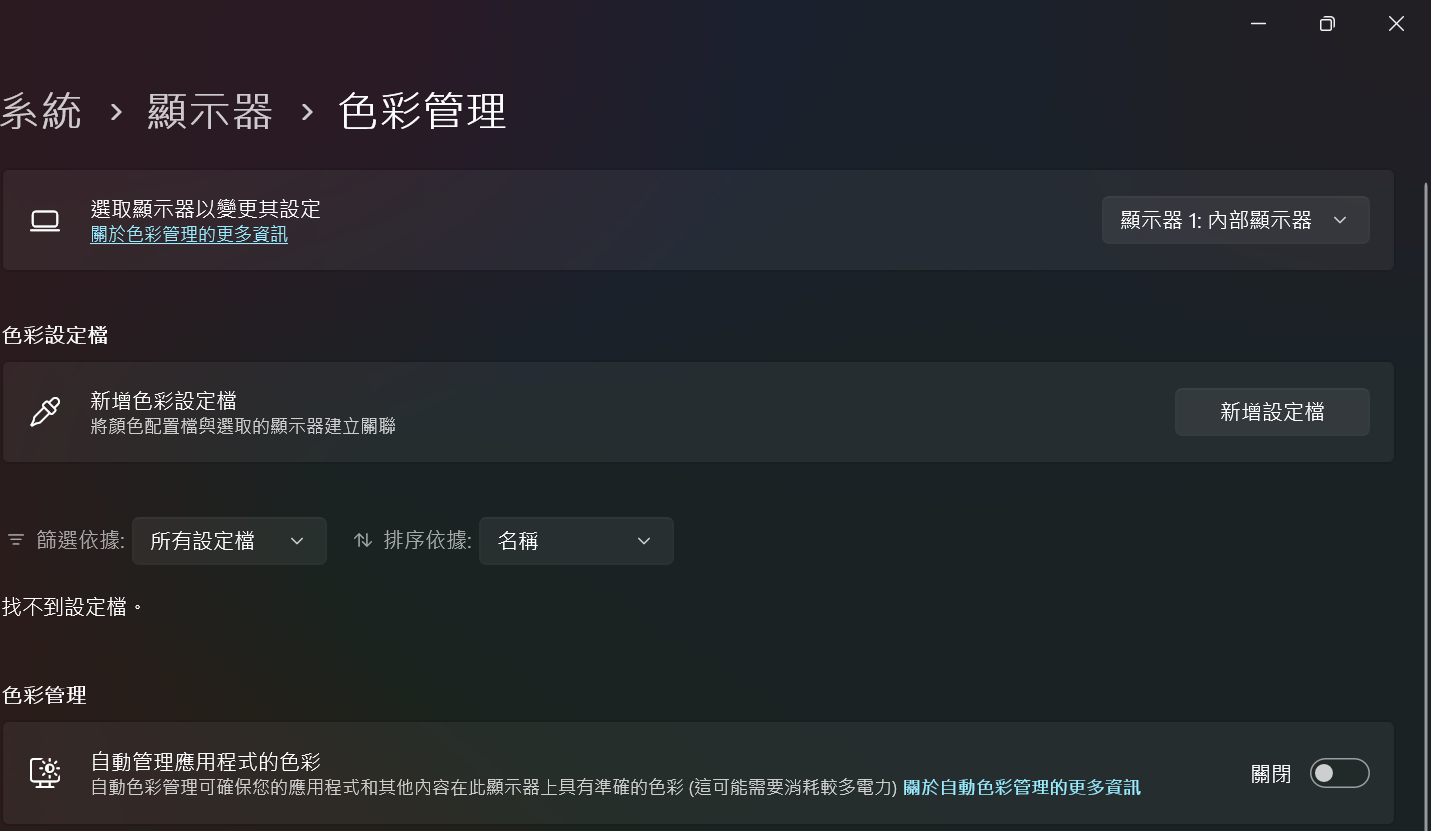
24H2:點選開始按鈕,接著點選設定 > 系統 > 顯示器 > 色彩設定檔
23H2:點選開始按鈕,接著點選設定 > 系統 > 顯示器 >
2. 選擇希望調整的顯示器
3. 點選自動管理顏色設定的色彩來開啟/關閉選項
*自動管理顏色設定的色彩預設選項為關閉
應用程式的自動管理顏色功能需要GPU來支援此功能
若在開啟自動管理顏色設定的色彩預設後出現顯示相關問題,請參閱對應的FAQ指引來乾淨安裝MSI官網擺放的顯示卡驅動
Intel:[操作說明] Intel顯示卡驅動程式全新安裝與更新來
NVIDIA:[操作說明] NVIDIA顯示卡驅動程式全新安裝與更新
AMD:[操作說明] 如何乾淨安裝/更新AMD顯示卡驅動及Radeon Software
若作業系統中未出現應用程式的自動管理顏色的選項
請參閱下方資訊確認系統符合支援條件
系統需求
作業系統:Windows 11版本22H2(OS組建 22621.2506)或更新
Windows 顯示驅動程式模型版本3.0或更新
*Windows 顯示驅動程式模型版本3.0在Windows 11版本22H2中已包含
顯示卡支援
- AMD:
● AMD RX 500 400 系列或更新
● AMD Ryzen 處理器搭配AMD Radeon顯示卡
- Intel:
● 整合式顯示卡: 第12代Intel Core處理器或更新
● 獨立顯示卡: Intel DG1 或更新
- NVIDIA:
NVIDIA GTX 10 系列或更新